

Tough but take your take and it’ll look good
Great product. Looks nice and installs very easy. I would recommend this to other people without a doubt.
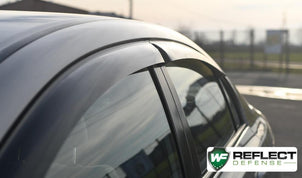
Looks great, will be put to the test once the weather heats up
There are distinct reasons why we’ve developed each style of window film. Please watch this video to discover which product style is right for you.
We've kind of perfected the installation of this and really the manufacturing of this. So don't be fooled by the competition.

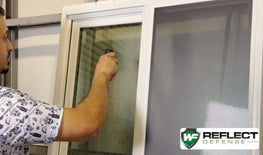
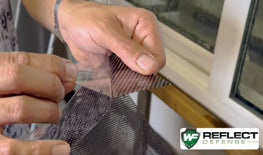
Lift the upper edge of the liner away from the film and fold back approximately 3-6 inches (depending on the size of the film).

Carefully position the film so that it is properly aligned on all sides, then press the upper corners in place using light pressure.

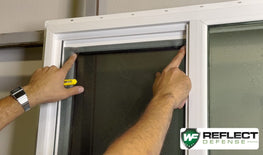
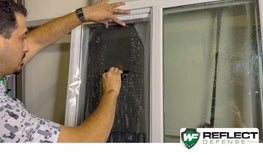
Using your hand or a soft plastic squeegee, lightly press the film in place.

Working from the top of the film to the bottom, continue by peeling away more of the liner and applying light pressure to the film. Continue in this manner until the liner is completely removed and the window film is in place.

Using a utility knife, carefully trim away any unneeded portion of the film.

If you are installing more than one panel, follow steps 1 through 5 for each panel. Properly align each film in relation to the adjoining panel(s).
In the case of film that must be seamed together, install the two pieces so that the edges of the film butt against each other, with the holes aligned (don't overlap the two edges of the film).

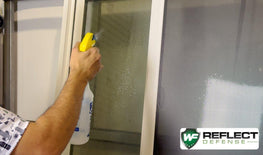
Finally, squeegee the film from the center and work outward in all directions. Be sure to squeegee the edges firmly in place.

Step back and admire your work!
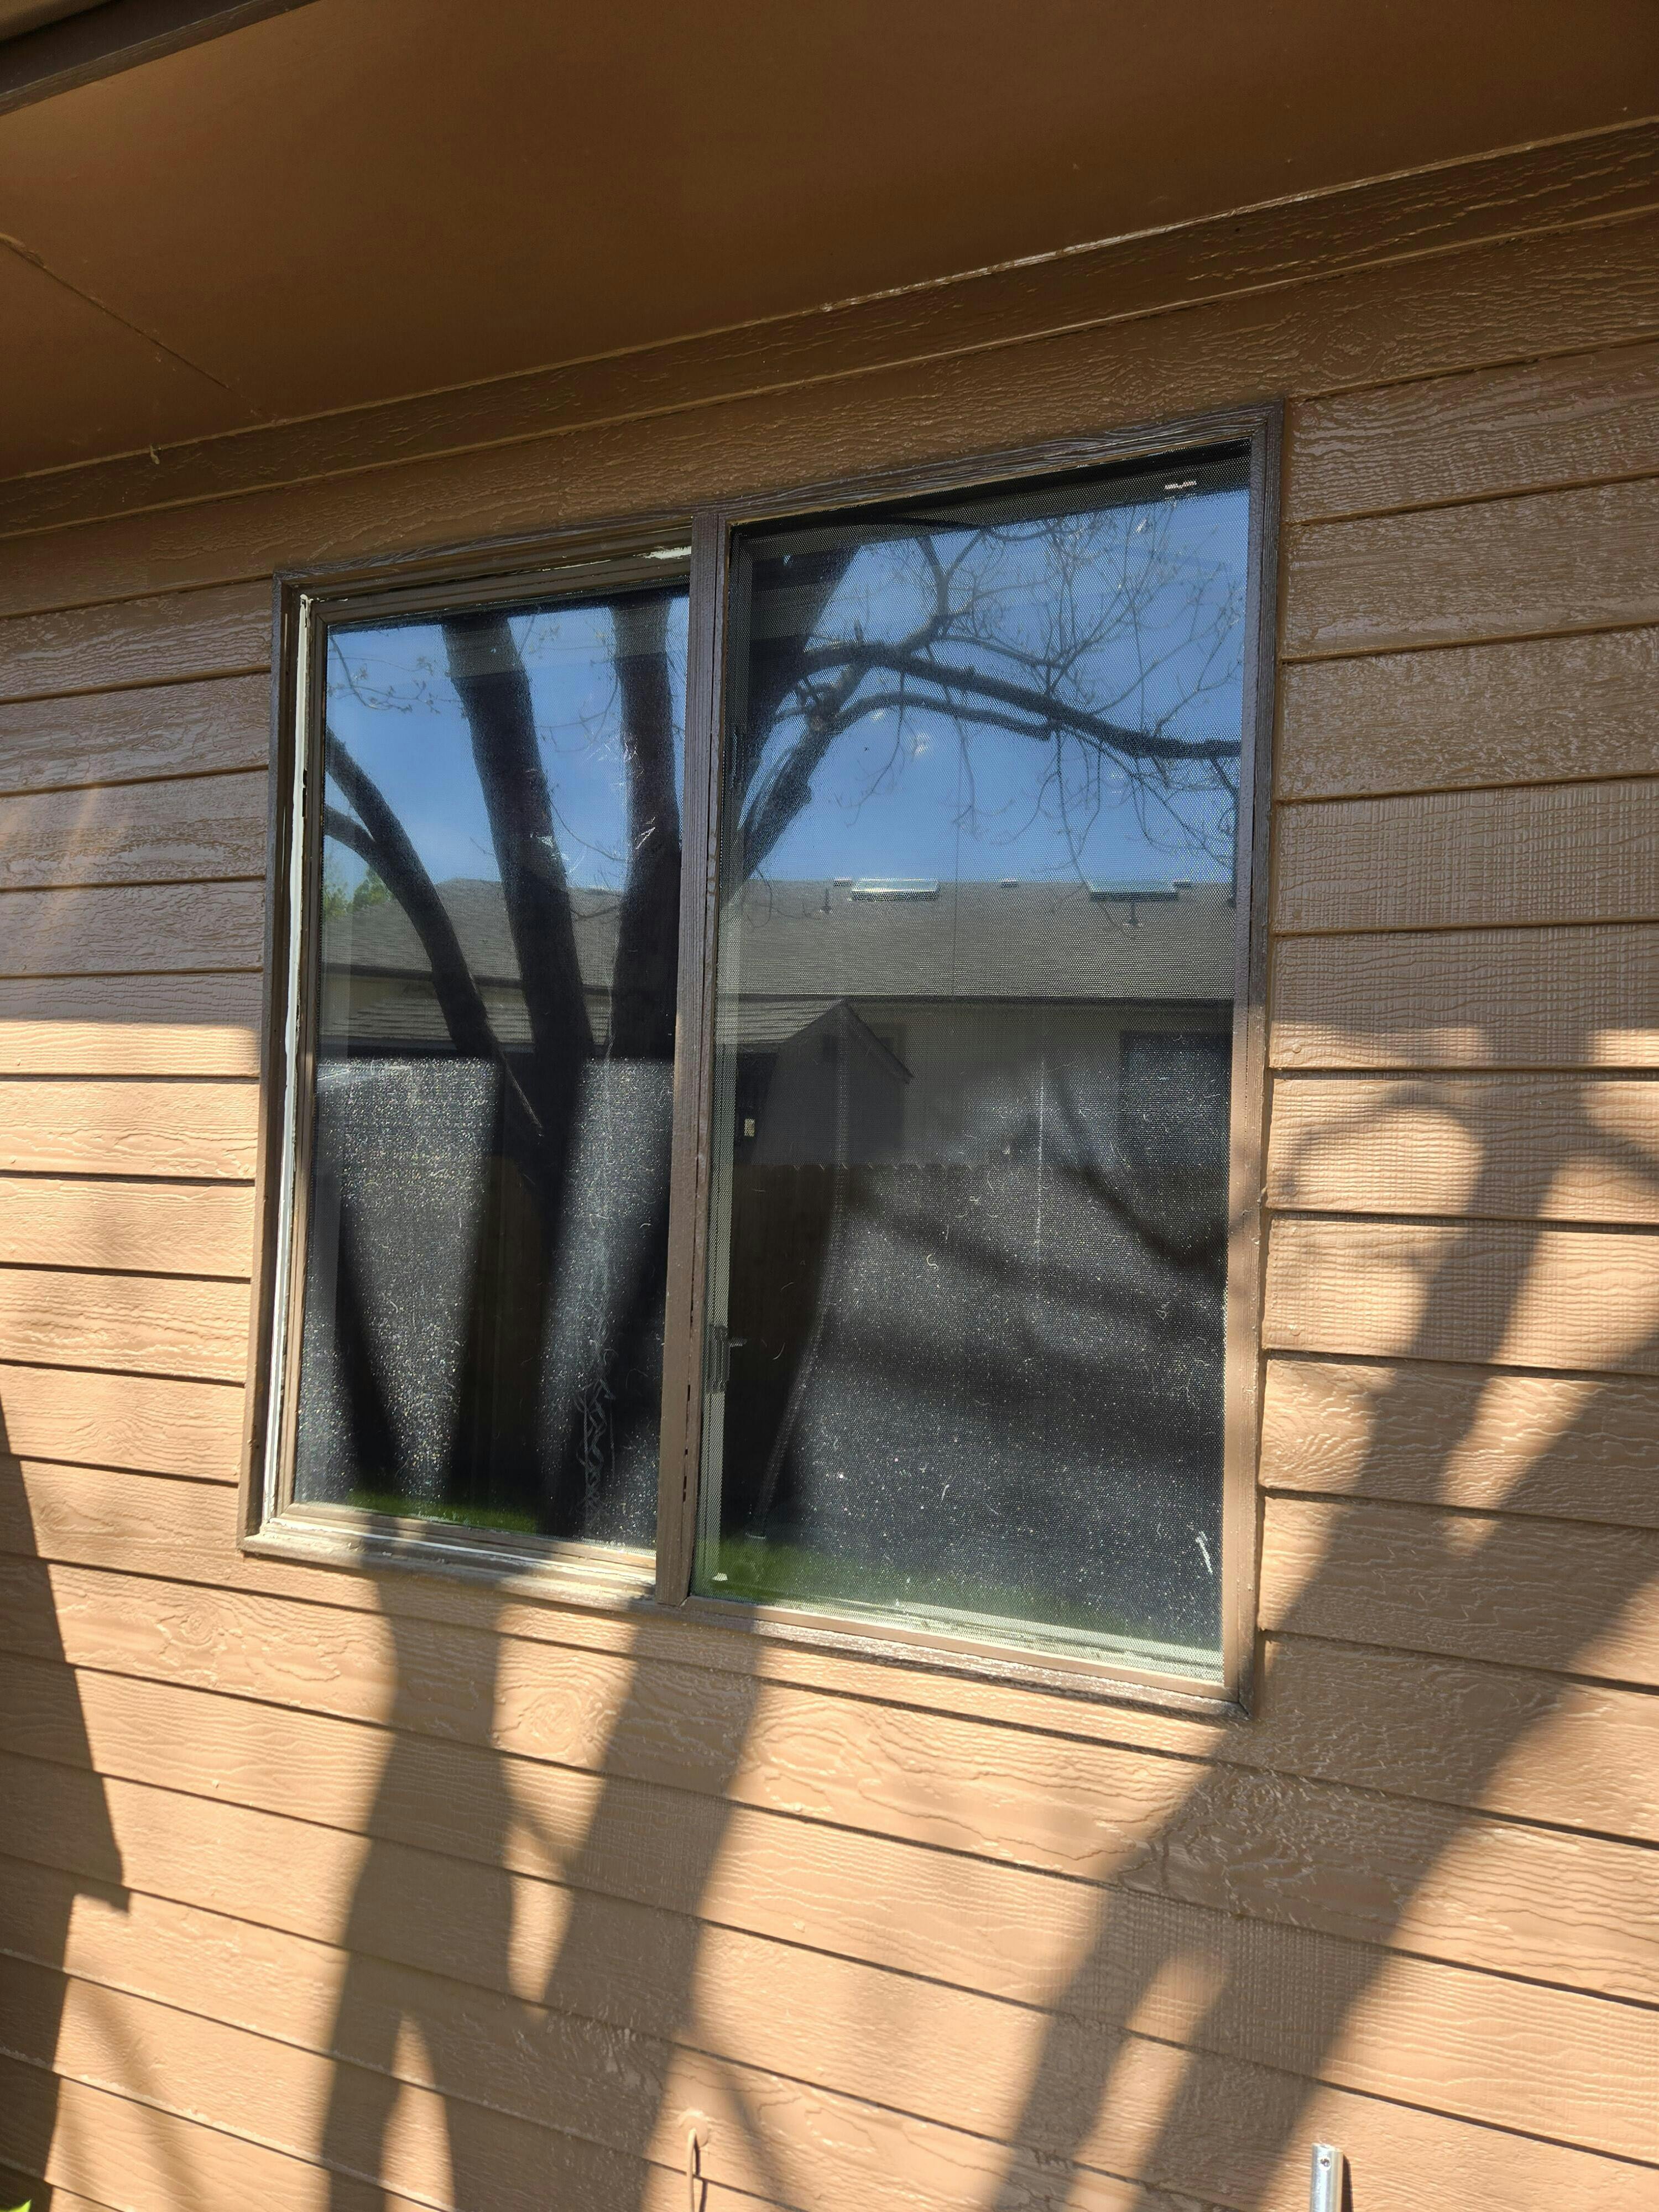
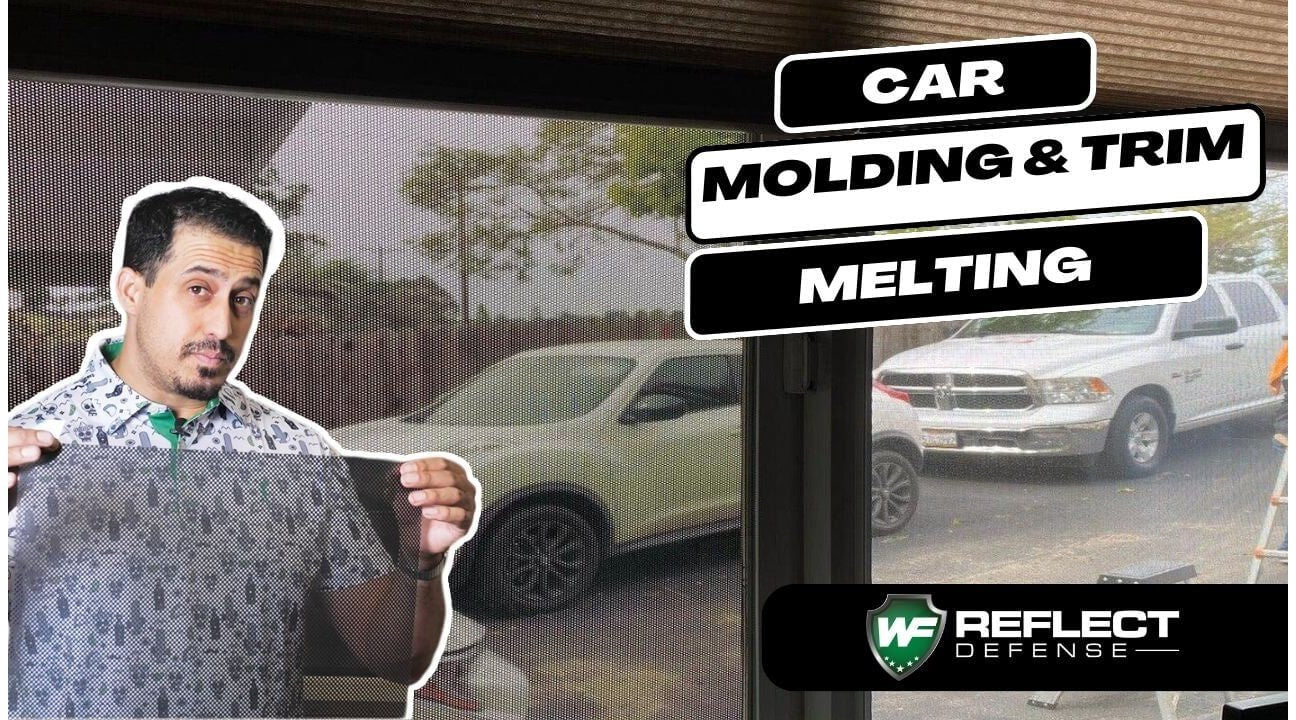
Black Screen Exterior Window Film by Reflect Defense window film offers the best interior visibility and looks like a screen after installation. If you are looking for the best interior view without a blurry look, choose Black Film.
White Film offers great privacy during the daytime hours and provides a clearer view than Clear Film. Your eye can look past the black liner and focus just on visible light.
Finally, squeegee the film from the center and work outward in all directions. Be sure to squeegee the edges firmly in place.
• Start by thoroughly cleaning the window's exterior surface. Use the soapy water solution to spray the window and wipe it down with a lint-free cloth or microfiber towel.
• Ensure you remove all dirt, dust, and smudges to avoid imperfections under the film.
• Measure the window dimensions and add an inch or two on each side. This will ensure you have enough film to cover the entire window without running short.
• Cut the window film according to the dimensions you've taken.
• Spray a generous amount of the soapy water on the window's exterior. The solution will act as a lubricant, allowing you to position the film easily.
• Carefully peel away the film's backing and immediately spray the adhesive side with soapy water.
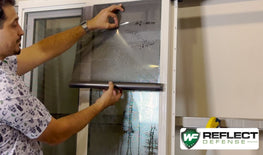
• Apply the soapy water solution onto adhesive side of the film and the window. The soapy water solution should help you slide and position the film into place.
PRO-TIP: Place the removed liner that exposed the adhesive side of the film and place it on top of the film; this ensures that you don’t scratch the printed side.
• Using the squeegee from the Wet Application Kit push out soapy solution from under the film, starting from the center and moving outward. Work in all directions ensuring there are no soapy solution, water, or bubbles.
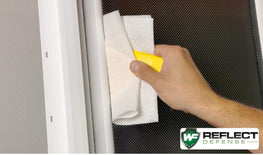
• Use the Angled Hard-Card provided in the TReflect Defense Pro Installation Kit - Wet being sure to wrap it with a dry paper towel like pictured. (Above)
- Apply firm, even pressure to press out any excess soapy water solution, or air.
Note: If air is trapped, lift the film, reapply soapy water, and repeat the from Step 5.

• Allow the film to dry naturally. Depending on the weather conditions, this might take several hours to a few days. Refrain from trying to hasten the drying process with heaters or blowers, as this may cause imperfections.
After the film has dried, check for any remaining bubbles. If you find any, pierce them with a pin and use the squeegee to push out the trapped air or water.
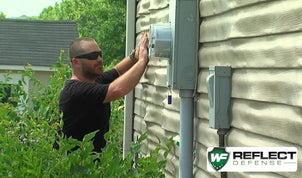
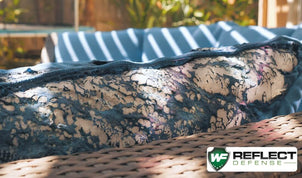
This is a wet application window film. This film is designed to protect turf, vinyl siding, and patio furniture from melting. This installtion video will help guide your Anti Reflective Window tint installation.
Most people spend $2500 on average to repair these harmful effects when Reflect Defense Window Film® is infinitely easier to install.

Reflect Defense Window Film prevents turf from melting by reducing the concentration of energy directed onto turf by energy-efficient windows.
Reflect Defense Window Film prevents turf from melting by reducing the concentration of energy directed onto turf by energy-efficient windows.
Reflect Defense Window Film prevents turf from melting by reducing the concentration of energy directed onto turf by energy-efficient windows.
Reflect Defense Window Film prevents turf from melting by reducing the concentration of energy directed onto turf by energy-efficient windows.
Each article is written to efficiently answer your questions and resolve your problems without putting you on hold. Check out the articles from the help center to get your answers quickly!
Stop the reflection of the window from melting artificial turf. Reflect Defense acts as a Turf Shied preventing your artificial turf from melting. Shield your turf with Reflect Defense Window Film.
Read Article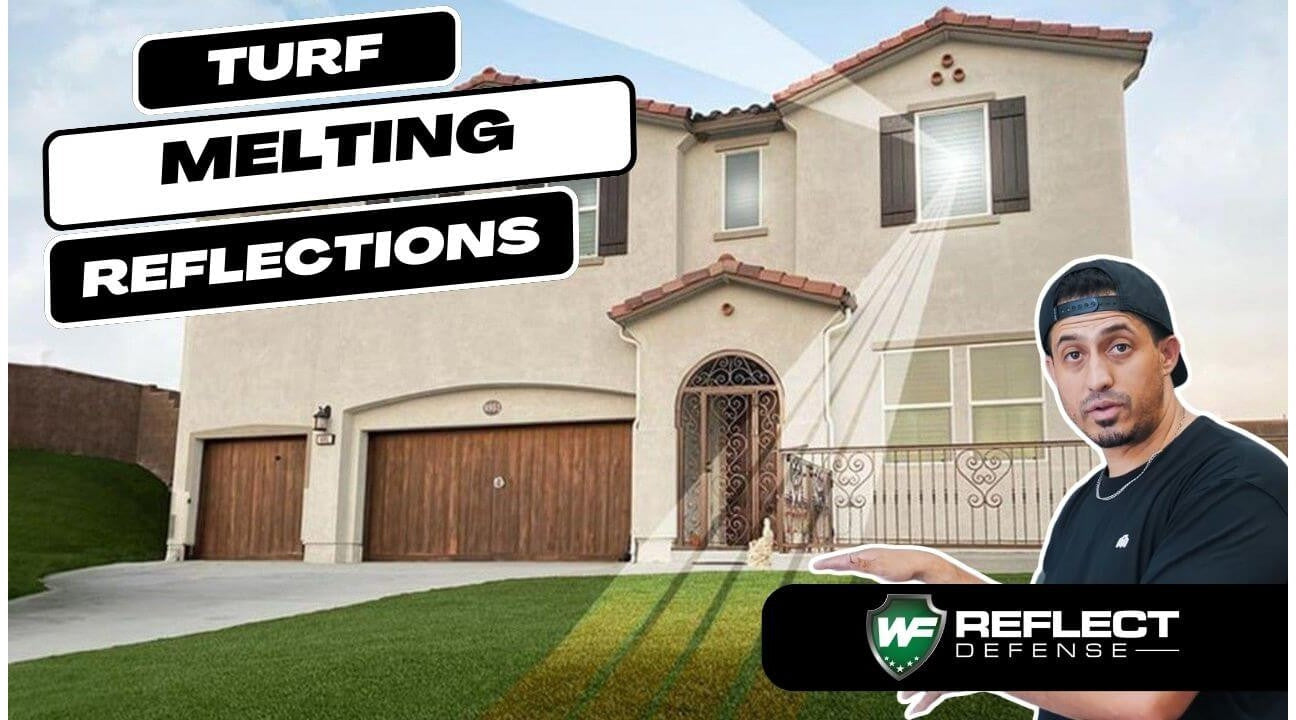
Protect your turf, siding, and more from heat damage caused by window reflections with Turf Shield Film by Reflect Defense Window Film. Our anti-reflective films, with Scorch Protect Technology, disperse sunlight and prevent damage.
Read ArticleJoin our email list for exclusive offers and the latest news.
For more information click here.
Tough but take your take and it’ll look good
Great product. Looks nice and installs very easy. I would recommend this to other people without a doubt.
Looks great, will be put to the test once the weather heats up