


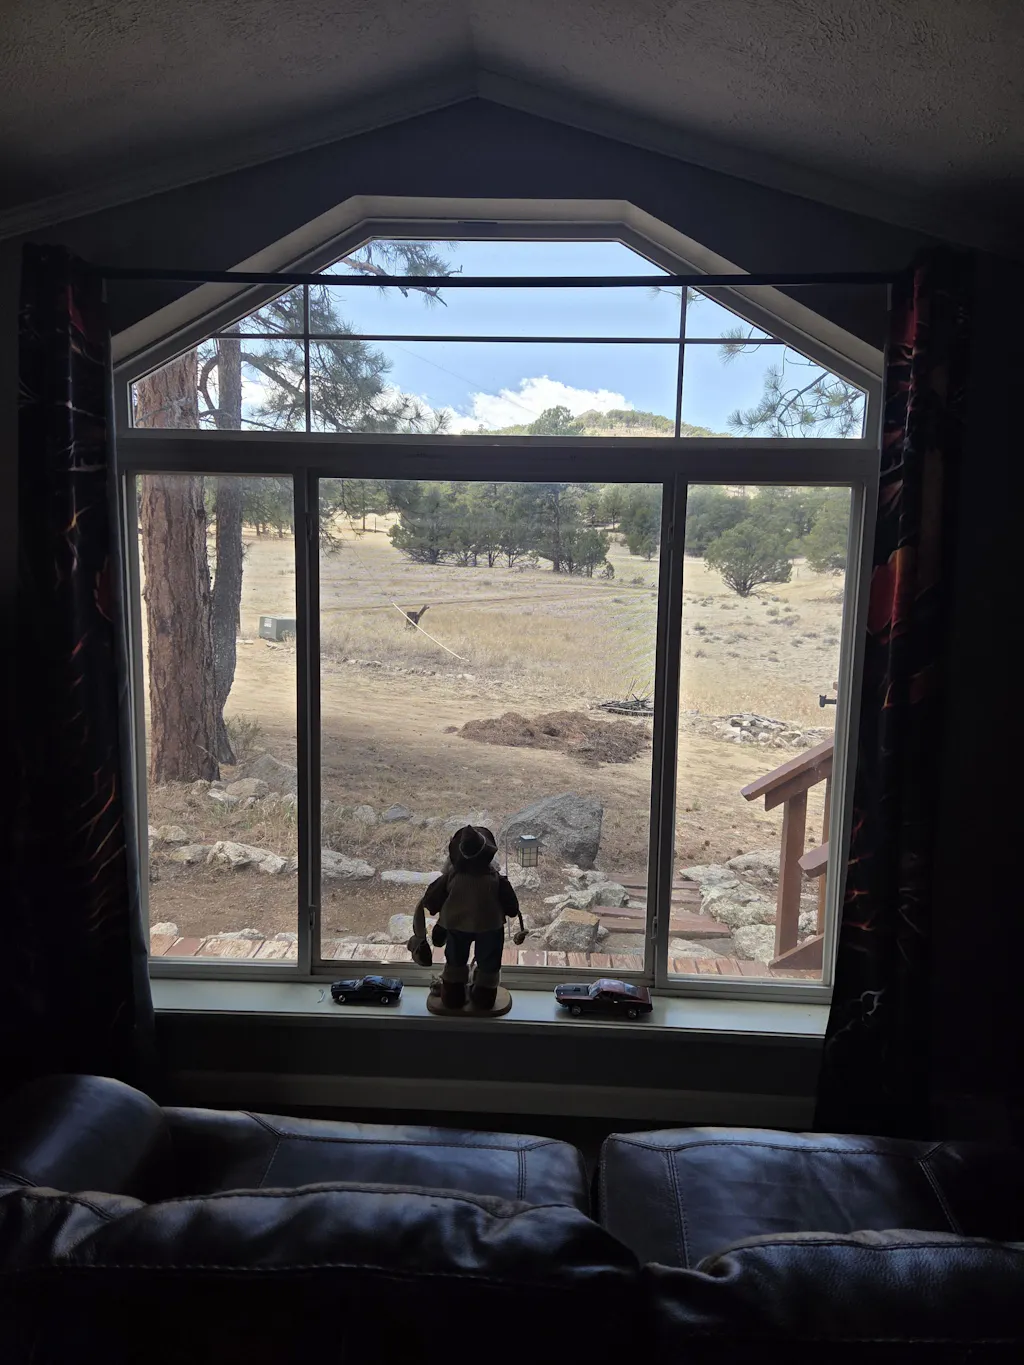
Received the rolled-up reflective film in a tube. Unpacked it and studied the installation video. My one problem is that the window I needed to install this on was on the second floor, and my ladder wouldn't reach it. Because the windows are vinyl double pane, the film liked to stick to the vinyl even though it was wet. That made adjustments a little difficult. All in all, we got the film installed and it looks great. My wife is pleased because it looks good on the window and most importantly, it has solved the laser beam effect the window was having on our patio furniture. An elegant solution to a serious problem.
Thanks team.
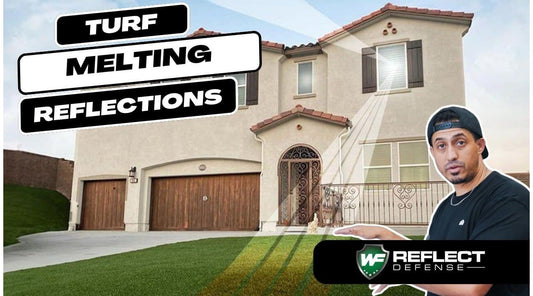
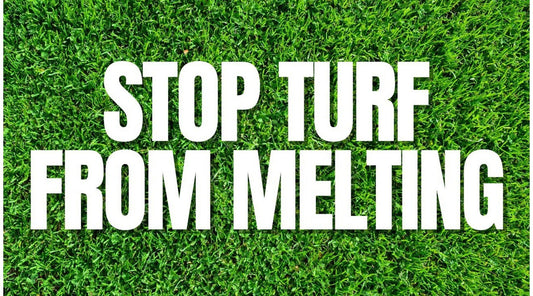
I recently installed astroturf and a putting green in the back yard and my landscaper recommended this product to protect the astroturf from burning from the sun reflecting off the windows. I got the black exterior dry application tint and am very pleased. Installation was simple - patience was the most important thing! I did not experience any stretching of the tinting and it was easy to remove and start again when necessary. I installed mine in the morning, probably around 70 degrees. Also after a couple hours of sunlight it was easy to smooth out any remaining air bubbles. Overall very pleased!
Pretty pricey but appears to be a good product. A fair amount of distortion is present looking through the window after install. Installation is pretty straight forward, YouTube is helpful in finding installation procedures. Fancy scrapers really aren't needed a credit card is adequate at least for medium sized windows.
Two things why I gave 4 stars instead of 5. First, I wish I had seen how the white looked from outside from a distance. If I had I would have went with black and not white. Second, applying to a large window solo was difficult. I was able to get it in place with just a couple of minor flaws that most people will never see but I know they are there. Removing excess was very simple with a razor knife.
Overall, I am happy with the product and no more birds are crashing into my big picture window. YAY!

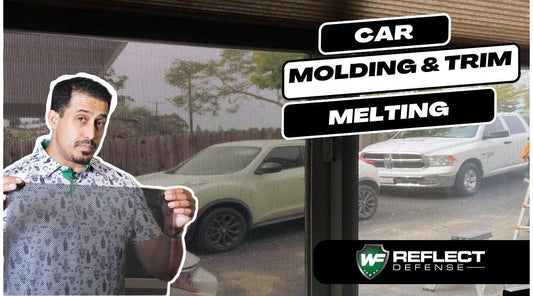
The sun was reflecting off of a window in my attic CB and melting the covers of my side view mirrors when the car was in the driveway. Once I put the film on the window my problem vanished. Throughly happy with the results, not so much with what it cost.